Quick answers
Phasing a big yard makeover over two seasons
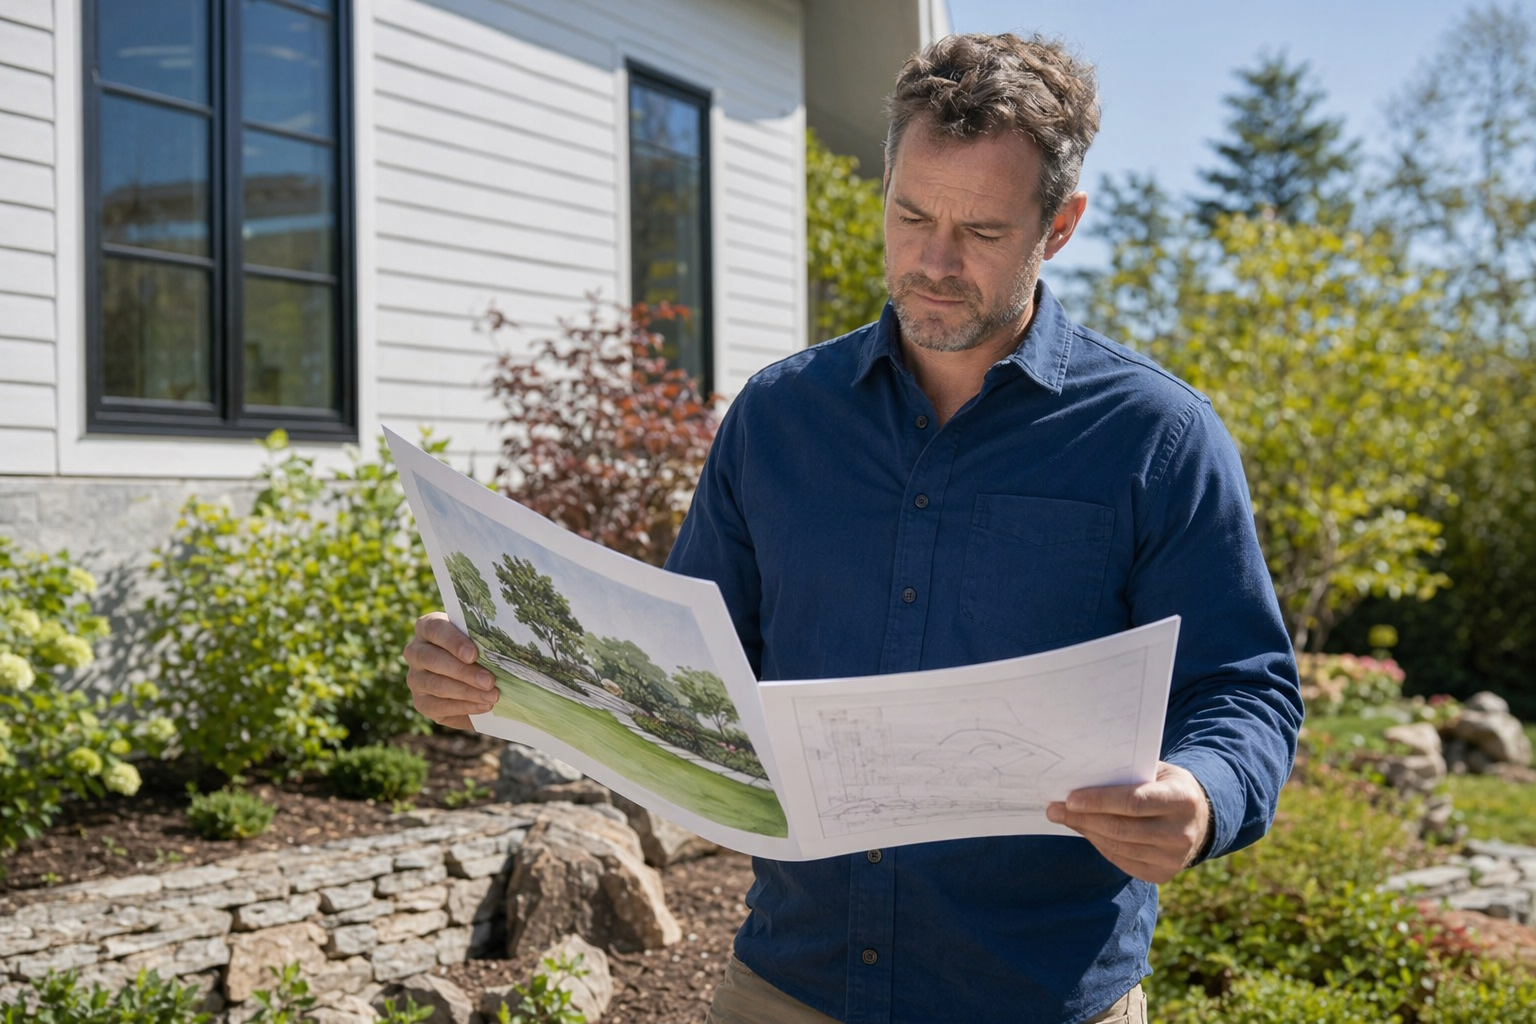
See how an anonymized homeowner planned and phased a yard makeover across two seasons—so the project stayed manageable and the result matched their goals. We explain the steps and what to watch for.

The yard challenge: “We want a real upgrade, but we can’t do it all at once”
This story is an anonymized example of how phasing can help when you’re working with a big yard, seasonal weather, and a budget you need to spread out.
In this case, the homeowner wanted a cleaner look, better use of outdoor space, and a yard layout that would hold up over time. They also needed to keep daily life comfortable while construction happened.
Phasing means doing the project in planned steps—often in a first season for groundwork and layout changes, and a second season for finishing details like planting and final touches. The right plan helps prevent rework (for example, digging up new hardscape later if the drainage plan wasn’t set early).
Step 1: Get a clear design plan before any work starts
A design-build approach (design + build by one coordinated team) can help with consistency, because the design and the build decisions connect. Even when work happens over two seasons, the plan stays the “single source of truth.”
The homeowner started by gathering priorities and constraints: where kids and pets would play, where the sun hits, how they want to move through the yard, and which areas feel unsafe or hard to maintain today. They also looked at the existing issues that affect cost and sequencing—like uneven areas and areas that get muddy after rain.
This is also the moment to ask the pro to explain the difference between hardscape and softscape. Hardscape means non-plant features like patios, paths, retaining walls, and edging. Softscape means plants, soil, and things that grow or need regular care. When you know what belongs to each, it’s easier to phase without losing your mind later.
Step 2: Phase the work so the “foundation” comes first
For a two-season plan, many homeowners choose to do the early work that affects the whole yard first. That can include layout changes, soil preparation, and any required grading (grading means shaping the land for the way water and foot traffic should move).
Depending on the region and site conditions, drainage planning may be part of the design. Drainage means how rainwater flows across and through the property, including where it should go safely. Some projects also include drip irrigation (a system that delivers water slowly through tubing and emitters, instead of spraying) for new plantings.
The key lesson from this example: if you add plants or finish surfaces too early, later adjustments for drainage/grading can require digging and replacement. A coordinated plan helps you put “big-impact decisions” up front.
Step 3: Keep the plan buildable and flexible for weather
Season timing matters. Some materials are better installed in certain temperatures, and soil conditions can limit what can be done when the ground is wet or frozen. In this anonymized story, the pro helped the homeowner split the scope so each season had a realistic set of tasks.
That included identifying what would be “temporary” or “ready for the next phase.” For example, the first season might include establishing walk paths, edging, and prepared planting zones (without finishing every plant detail). The second season could focus on the full planting plan, final surfacing, and cleanup.
When you’re phasing, ask the pro to define the handoff between seasons: what is considered complete, what will be left in place, and what should be protected. This reduces surprises and helps ensure the second season doesn’t start from scratch.
Step 4: Get clear paperwork—design, scope, and price in writing
To avoid cost and timeline surprises, the homeowner made sure key decisions were documented. That means confirming the design details (what goes where), the scope (what is included and what is not), and the price IN WRITING before work starts.
It also means understanding line items. Even if two projects sound similar on paper, costs can change based on access (how heavy items and materials get to the yard), site constraints (tight gates, slope, tree cover), and the level of prep needed.
Important reminders before any digging or new systems: verify the pro’s license and insurance yourself, check local permit requirements, and confirm utility-locates before excavation. In many areas, you also need to locate buried lines before starting work—this is a safety step, not something to skip.
Step 5: Use a practical “punch list” mindset after each phase
After each season’s work, the homeowner and pro used a simple closeout approach often called a punch list. A punch list is a set of remaining items—small fixes, adjustments, and clarifications—noticed after the main work is done.
This helps because phasing creates natural “pause points.” You may not want to start the next phase until the first phase is stable and ready. In this example, the punch list included checking the layout alignment, confirming surfaces were installed as intended, and identifying any areas that would need attention before final planting.
There’s no guarantee that any plant or installation will look perfect right away, because weather, soil, and maintenance all play a role. What you can control is clarity: what was done, what’s planned next, and what “done” means for that phase.
This anonymized example shows how thoughtful phasing—starting with the foundational plan and documenting scope in writing—can make a big yard makeover more manageable over two seasons.